The Pico W’s “native” languages are MicroPython and the C/C++ SDK — that’s what Raspberry Pi’s own getting-started guide walks you through. But a lot of kits built around the Pico W, including the Freenove Mecanum Wheel Car Kit I used for this, ship their example code for the Arduino IDE instead. That’s a genuinely different setup process, with one step in particular that trips people up because it doesn’t work the way it does on every other Arduino-compatible board.
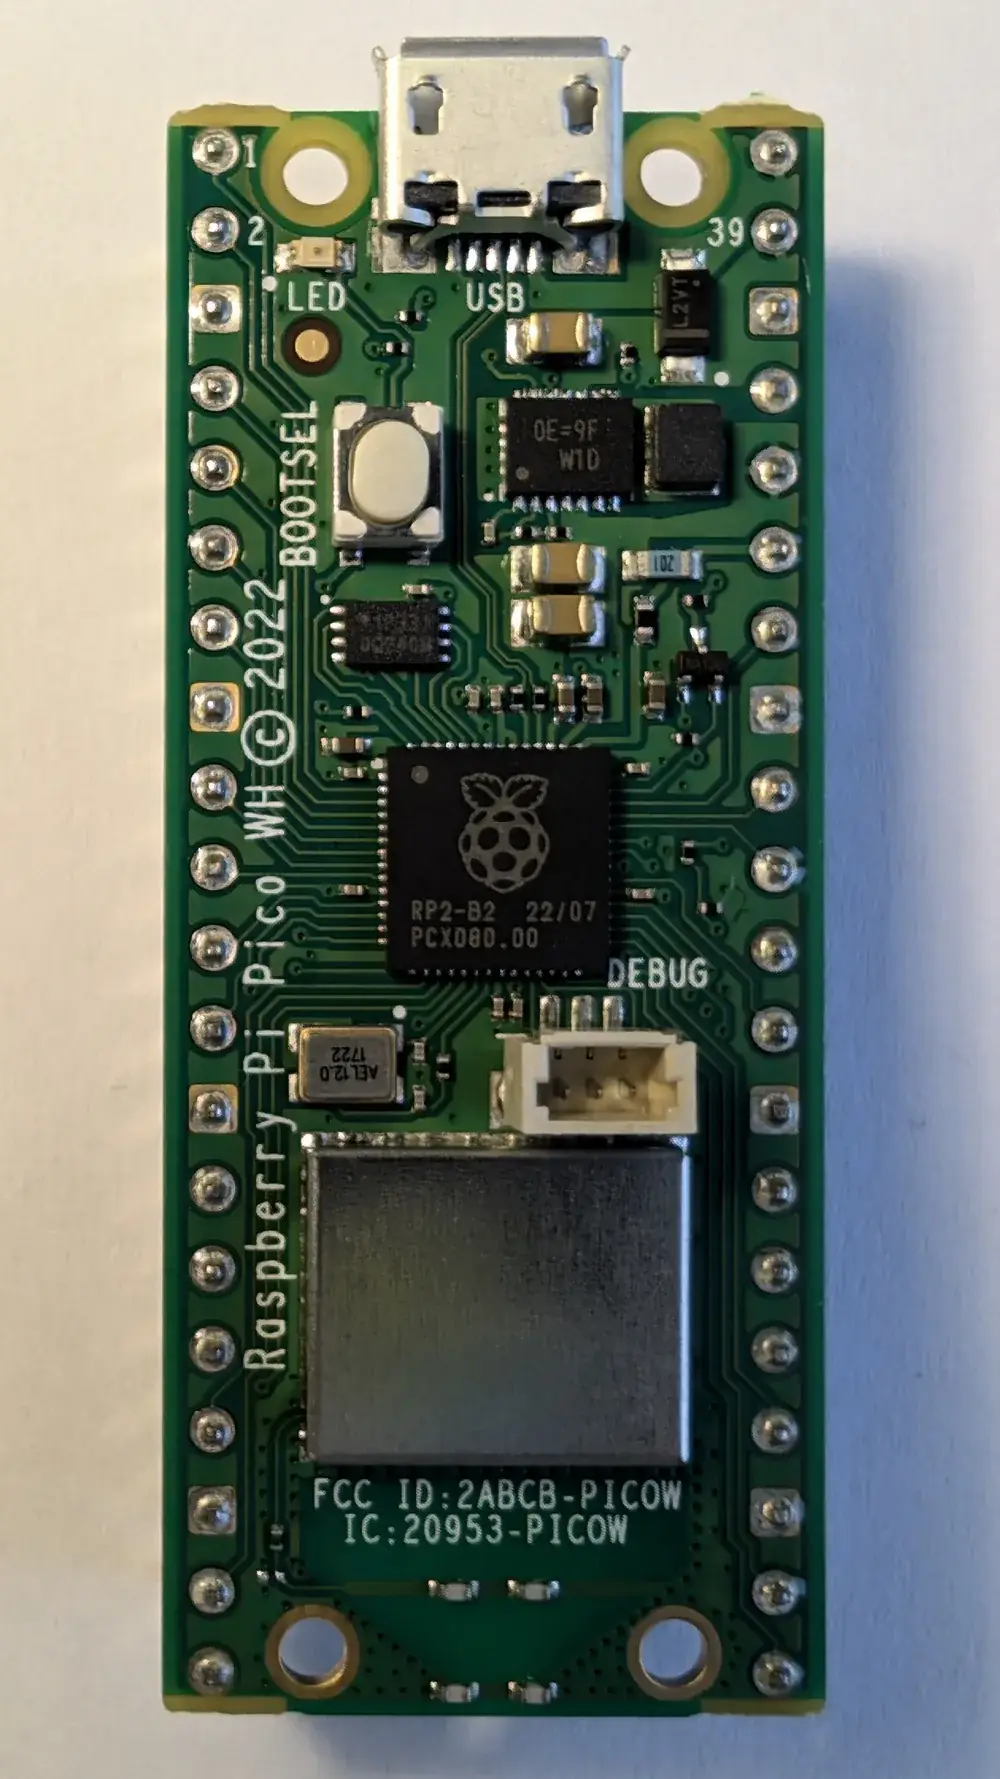
A Raspberry Pi Pico W with soldered header pins. Photo: Spageektti, CC BY-SA 4.0 (resized)
Install the Pico board core
The Pico W isn’t an official Arduino board, so the IDE doesn’t know about it out of the box. Add the community-maintained core that does:
- Open File → Preferences
- Next to “Additional Boards Manager URLs,” add:
https://github.com/earlephilhower/arduino-pico/releases/download/global/package_rp2040_index.json - Click OK, then go to Tools → Board → Boards Manager, search “pico,” and install the Raspberry Pi Pico/RP2040 package
This is Earle Philhower’s community core, not the smaller official Arduino Mbed OS RP2040 core that also shows up in board searches — it’s the one most kit manufacturers, Freenove included, build their example code against, because it supports a much wider range of libraries. If a kit’s example sketches throw missing-library errors, check which core is actually selected before troubleshooting anything else.
Select the right board
Tools → Board → Raspberry Pi Pico/RP2040 → Raspberry Pi Pico W — specifically the W variant, not plain “Raspberry Pi Pico,” and not “Raspberry Pi Pico 2 W” if you’ve got the original RP2040-based board rather than the newer RP2350 one. Picking the non-W board compiles fine right up until your sketch calls anything from WiFi.h, at which point it fails — an easy mistake to make since the two entries sit right next to each other in the list.
The first upload needs BOOTSEL mode — every subsequent one doesn’t
This is the step that catches people who’ve set up an Arduino or ESP32 board before and expect uploading to just work the same way. A brand new Pico W has no Arduino-compatible bootloader running yet, so there’s nothing listening on a serial port for the IDE to reset and upload to — the very first upload has to go in through the chip’s built-in ROM bootloader instead:
- Unplug the Pico W, then hold down the BOOTSEL button while plugging the USB cable back in. Timing matters — hold it through the reconnection, not just before.
- The board mounts as a USB mass-storage drive. Open File → Examples → 01.Basics → Blink, set Tools → Port → UF2 Board, and upload.
- Once that upload finishes, the board reboots running actual Arduino firmware and shows up as a normal serial port from then on. Switch Tools → Port to that COM/tty port for every upload after this one.
Freenove’s own documentation flags this explicitly, and it’s worth repeating: after the first upload, check the port is set correctly before every subsequent upload — it’s easy to leave it on “UF2 Board” from the first attempt, and the upload will simply fail rather than telling you why.
Kit-specific libraries usually aren’t in the Library Manager
If you’re following the Freenove Mecanum kit specifically, its servo control code depends on the RP2040_PWM library, which comes bundled in the kit’s own files rather than being searchable through Arduino’s Library Manager. Install it via Sketch → Include Library → Add .ZIP Library, then point it at RP2040_PWM-main.zip from the kit’s Libraries folder. This is a common pattern with hobby kits generally — manufacturer-bundled or modified libraries usually need a manual ZIP install rather than a Library Manager search, so if a kit’s example code references a library you can’t find by searching, check the kit’s own downloads folder before assuming something’s missing.
If nothing shows up in the Boards Manager search
Double check the URL saved correctly in Preferences — if you already had another board’s URL in that field, entries need to be comma-separated, and a stray line break or missing comma will silently mean neither URL loads. Reopening Preferences after saving is the easiest way to confirm what’s actually stored there.

