The DHT11 and DHT22 are the default choice for temperature and humidity in beginner projects — weather stations, greenhouse monitors, “is my server room too hot” alarms. They’re cheap, wire up on three pins, and nearly every microcontroller platform has a library for them. The wiring itself is trivial; the actual source of frustration is a single-wire digital protocol that’s fussier about timing than it looks, which is why “sensor returns NaN” or “read failed” is such a common search for these two parts.
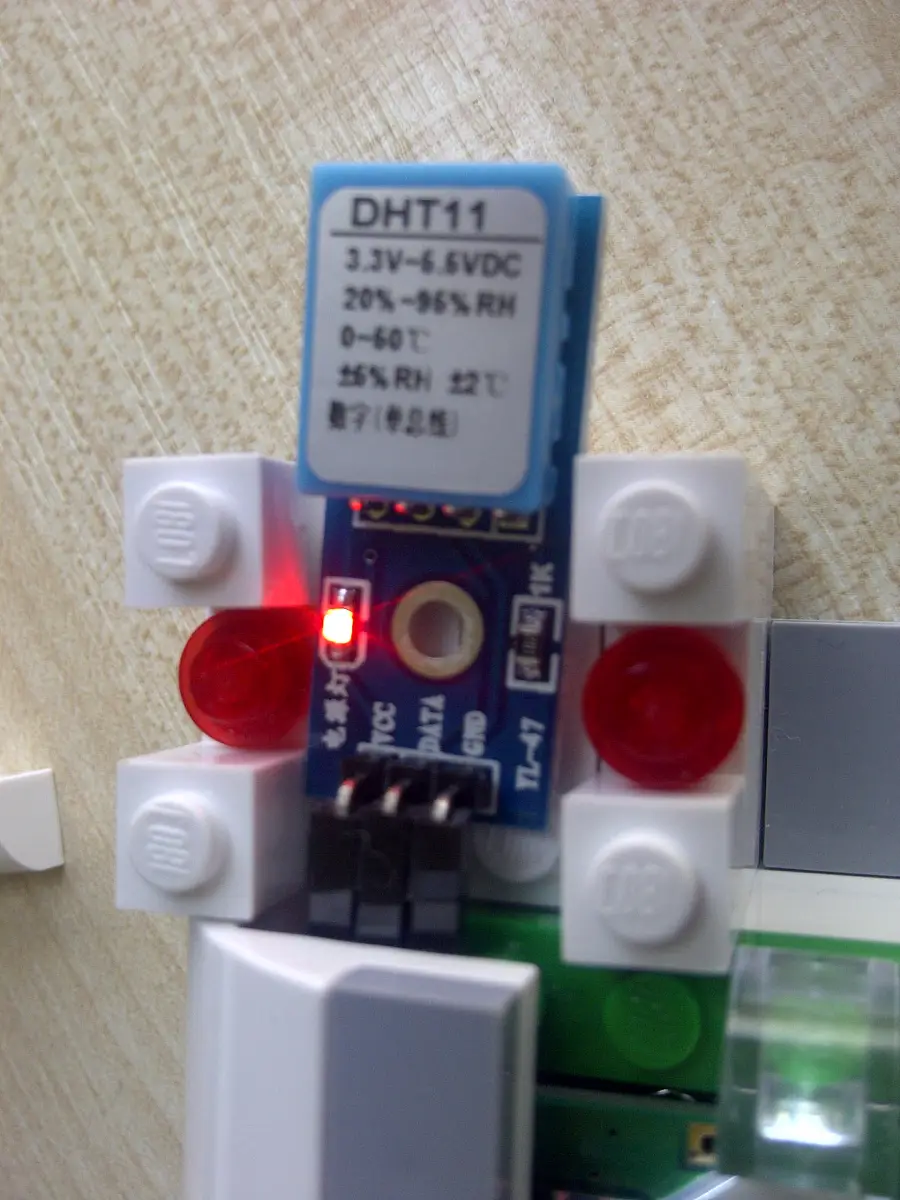
A DHT11 temperature and humidity sensor on a breakout PCB. Photo: Crackopl, CC BY-SA 3.0 (resized)
Pinout
The bare sensor (the blue or white plastic-cased part with a perforated grid front) has 4 pins, viewed with the grid facing you and pins pointing down:
| Pin | Name | What it does |
|---|---|---|
| 1 | VCC | Power, 3–5.5V |
| 2 | DATA | Single-wire digital data line — needs a 4.7kΩ–10kΩ pull-up resistor to VCC |
| 3 | NC | Not connected — leave floating |
| 4 | GND | Ground |
Most hobbyist breakout boards — the little blue PCB modules bundled into starter kits — expose only 3 pins (VCC, DATA/OUT, GND) because the pull-up resistor is already built onto the board. If working from a bare 4-pin sensor rather than a module, that pull-up resistor between DATA and VCC isn’t optional — without it, reads fail intermittently or entirely, since the sensor’s data line can’t reliably pull itself high on its own.
DHT11 vs DHT22: not just a price difference
Both sensors use the same wiring and the same communication protocol, so code written for one usually only needs the library’s sensor-type constant changed to work with the other. Where they differ is real:
| DHT11 | DHT22 (AM2302) | |
|---|---|---|
| Temperature range | 0–50°C, ±2°C | −40–80°C, ±0.5°C |
| Humidity range | 20–80%RH, ±5%RH | 0–100%RH, ±2–5%RH |
| Max sampling rate | 1Hz (once/second) | 0.5Hz (once every 2 seconds) |
| Typical cost | Lowest | Roughly double the DHT11 |
For anything indoors and non-critical — a room thermometer, a “is it humid in here” display — the DHT11’s cheaper, coarser readings are usually good enough. For anything that needs to track sub-degree changes, work outdoors below freezing, or measure genuinely high humidity, the DHT22’s wider range and better accuracy earn the extra cost. Note the DHT22 is also commonly sold under the name AM2302 — same sensor, same specs, different label from the manufacturer (Aosong).
Why reads fail: it’s a timing-sensitive protocol, not I2C or SPI
The DATA pin doesn’t speak I2C, SPI, or standard 1-Wire — it’s a proprietary single-wire protocol built entirely around precise pulse timing. The microcontroller pulls the line low to start a read, then the sensor responds with a sequence of high/low pulses of specific microsecond-scale durations that encode 40 bits of temperature and humidity data plus a checksum. Get the timing wrong — a wire that’s too long, too much capacitance, a library not tuned for your microcontroller’s clock speed — and the read comes back garbled or times out entirely. This is why virtually nobody bit-bangs this protocol by hand; a maintained library (Adafruit’s DHT sensor library for Arduino, or an equivalent for other platforms) that’s already had its timing tolerances worked out is the standard approach.
Polling faster than the sensor’s rated sampling rate is the single most common cause of “read failed” reports. Calling the read function every loop iteration, dozens of times a second, asks the sensor to respond faster than its internal cycle allows — the DHT11 needs at least a full second between reads, the DHT22 at least two. Space reads out with a delay() (or a non-blocking timer) matching the sensor’s rated rate, and most “intermittent failure” reports disappear.
Wiring
- VCC to 3.3V or 5V (both sensors tolerate either, per the datasheet range above).
- GND to ground, shared with the microcontroller.
- DATA to any digital I/O pin — it doesn’t need to be a special pin, since the protocol is fully handled in software by the library, not by dedicated hardware.
- Pull-up resistor between DATA and VCC, 4.7kΩ–10kΩ, only needed if using a bare 4-pin sensor rather than a 3-pin breakout module with one already fitted.
Common mistakes
Polling too fast. Covered above — respect the sensor’s rated sampling rate (1Hz for the DHT11, 0.5Hz for the DHT22) or reads fail intermittently even on otherwise-correct wiring.
Missing pull-up resistor on a bare sensor. If reads fail 100% of the time rather than intermittently, and a bare 4-pin sensor (not a 3-pin module) is in use, check for the pull-up first.
Long, thin, or unshielded wiring. The single-wire protocol’s timing tolerance degrades over long cable runs — a DHT sensor connected with more than about a metre of thin jumper wire is a common cause of unreliable reads that a shorter or thicker cable often fixes outright.
Reading immediately after power-up. The datasheet specifies roughly a 1–2 second settling period after power is first applied before the first read is reliable — a read attempted in the first fraction of a second after power-on can return bad data even with everything else wired correctly.
Confusing “sensor failed” with “out of range.” A DHT11 asked to read sub-zero temperatures, or a reading pushed past either sensor’s rated humidity range, doesn’t necessarily error cleanly — checking the datasheet range against what a project is actually asking the sensor to do is worth doing before assuming the hardware itself is faulty.
If you don’t have one on the bench already, a DHT11 sensor module 3-pack or a DHT22 (AM2302) sensor module pack covers most projects. If you haven’t wired up a sensor on a breadboard before, how a breadboard is actually connected underneath is worth reading first — most “sensor gives garbage readings” reports trace back to a breadboard wiring issue rather than the sensor itself.

