Soldering looks harder than it is. The technique itself is maybe twenty minutes of practice to get reliably right, and once it clicks, it stays clicked — it’s much more a physical skill like tying a knot than an intellectual one. The part that actually trips people up isn’t the joint, it’s not knowing what a good joint is supposed to look and feel like, so they can’t tell whether they’re doing it right until something fails weeks later.
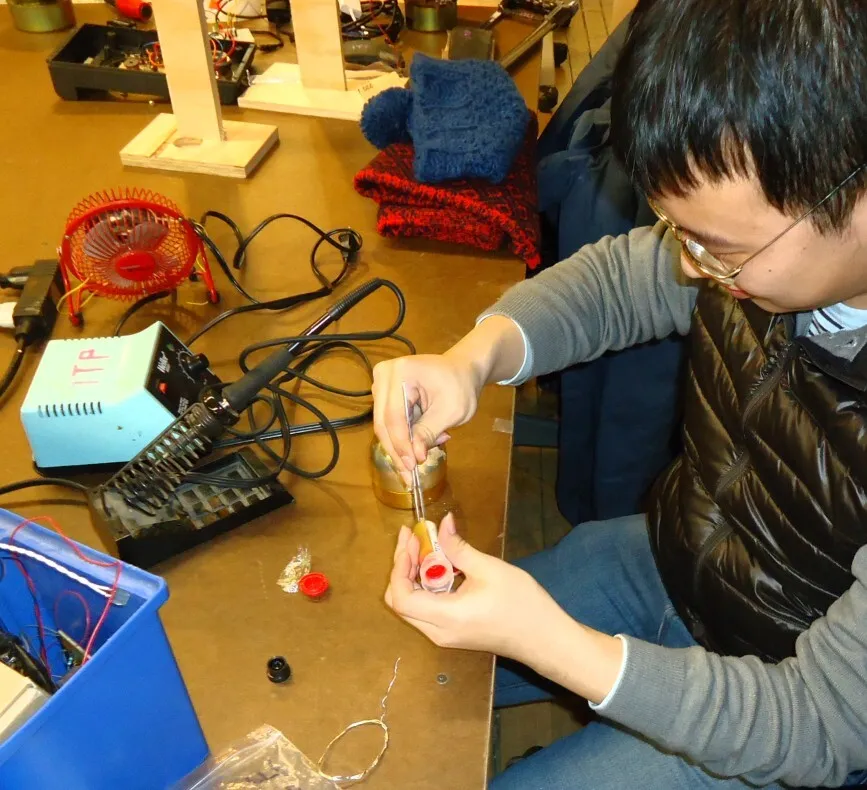
Learning to solder a connection. Photo: Tomwsulcer, CC0 (resized)
What you need
- A soldering iron — a temperature-adjustable station is easier to learn on than a fixed-wattage pen iron, since you can dial in the right heat rather than fighting whatever the iron happens to run at. A basic 25W iron works fine too, and is the cheaper way in if you’re not sure you’ll stick with it.
- Solder wire , ideally 1mm lead-free with a flux core (the flux is built into the wire, not a separate step).
- A stripboard offcut or a cheap kit board — something you don’t mind wasting. Don’t practice on a project you actually care about.
- A heat-resistant mat underneath, and ideally a helping-hands stand to hold the board still — soldering one-handed while also holding the workpiece is the single biggest reason beginners get shaky, uneven joints.
Setting up
Set the iron to around 350°C (a bit hotter for lead-free solder, which needs more heat to flow than old-fashioned leaded solder). Give it a couple of minutes to actually reach temperature — a soldering iron that feels warm to the touch after thirty seconds is nowhere near ready, and touching solder to a tip that isn’t fully up to heat is exactly what produces the dull, grainy joints covered below.
Wipe the tip on a damp sponge or brass wire pad before you start, and again every few joints. This isn’t cosmetic — a tip caked in old, oxidised solder won’t transfer heat properly no matter how hot the iron’s internal element actually is, and it’s the most common reason a joint that should be easy just won’t flow.
The joint itself
Work through each leg one at a time, in this order:
- Push the component’s leg through the board and bend it slightly outward on the underside so it doesn’t fall out while you work.
- Touch the iron’s tip to both the leg and the copper pad simultaneously — not to the solder. This is the part almost every beginner gets backwards on their first attempt.
- Hold for about one to two seconds, then feed solder into the joint (where the leg meets the pad), not onto the iron tip. The heat already in the leg and pad should pull the solder in and let it flow around the joint on its own.
- Feed enough solder to cover the pad and leg in a smooth cone shape, then pull the solder wire away first, and the iron a second after.
- Don’t move the leg or the board for a few seconds while the joint cools. A joint disturbed while it’s still liquid comes out looking frosted and cracked, even if the actual soldering technique was fine.
That whole sequence takes maybe three seconds of iron-on-joint time. Iron contact much longer than that is more likely to cause a problem — overheating the component, lifting a PCB pad — than to fix one.
What a good joint looks like
A properly made joint is a smooth, shiny, cone-shaped fillet that clearly wets both the leg and the pad, meaning the solder flowed onto and bonded with both surfaces rather than just puddling between them. It should look almost like a small, glossy volcano around the leg.
Compare that against the two failure modes you’ll almost certainly produce a few of early on:
- A cold joint looks dull, grainy, or cracked instead of shiny — this happens when the pad and leg weren’t hot enough when the solder was applied, so it solidified before flowing properly. It might look connected but often has poor or intermittent electrical contact, and it’s a common cause of “this circuit sometimes works” bugs.
- A solder ball or blob is too much solder piled on with not enough heat behind it, often bridging to an adjacent pad it shouldn’t be touching. If two neighbouring joints look connected by a stray blob, that’s a short waiting to happen.
If a joint looks wrong, the fix is almost always the same: reheat both the leg and pad together for a second or two so everything melts and flows again, add a touch more solder if it looks thin, then let it cool undisturbed. It’s much easier to redo a joint on the spot than to diagnose a mystery fault after the board’s built.
Two habits worth building early
Don’t breathe the smoke directly, and work somewhere ventilated. Rosin flux fumes aren’t pleasant to breathe in quantity over a long session, even with lead-free solder.
Let the iron cool in its stand, not on the bench. A 350°C tip left face-down on a work surface is an easy way to melt something you didn’t mean to, or burn yourself reaching past it later.
Once you’ve made a dozen or so joints and they’re starting to consistently look shiny and cone-shaped rather than dull or blobby, you’ve got the skill — from here it’s just repetition. If a wiring mistake rather than the soldering itself is the problem, why isn’t my breadboard circuit working covers the equivalent troubleshooting for solderless prototyping.

