
A multimeter’s dial is covered in symbols that look like they need an electronics degree to decode. In practice, you’ll use about four of them for nearly everything, and the rest can sit there unused until you actually need them.
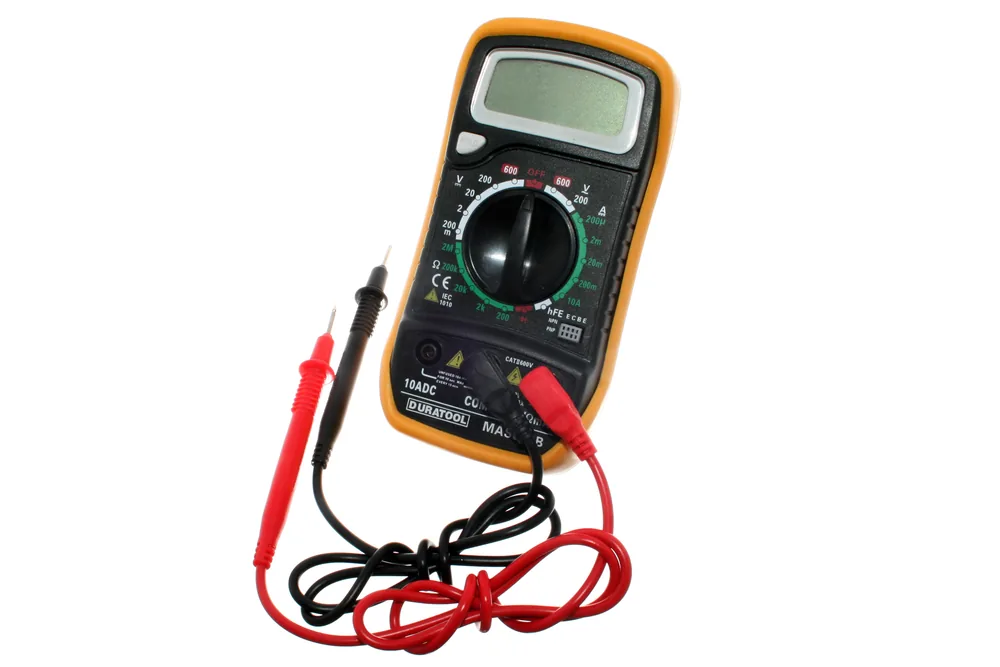
A handheld digital multimeter. Photo: oomlout, CC BY-SA 2.0 (resized)
The four functions that matter
DC voltage (V⎓ or V-) is what you’ll reach for constantly — checking a battery’s actual charge, confirming a power supply is putting out what it claims, checking the voltage at a specific point in a circuit. Set the dial here, red probe on the point you’re measuring, black probe on ground or the negative terminal.
Continuity (usually a sound-wave or diode-like symbol, often sharing a dial position with resistance) tells you whether two points are electrically connected, with an audible beep for instant feedback without even looking at the screen. This is the fastest way to check a wire isn’t broken, a fuse hasn’t blown, or a switch is actually making contact when closed.
Resistance (Ω) measures a component’s resistance directly — useful for checking a resistor’s actual value against its colour code, or spot-checking a component you suspect has failed. One catch: measuring a component while it’s still wired into a circuit can give a misleading reading, because the meter is measuring every parallel path through the surrounding circuit as well, not just the one component. For an accurate reading, lift at least one leg out of the circuit first.
Diode test (a diode-symbol dial position, sometimes combined with continuity) is specifically for testing diodes and LEDs. It pushes a small current through in one direction and reports the voltage drop, which also makes it the easiest way to check an LED’s polarity or whether it’s still alive, since a working one will glow faintly.
Two things to get right before you touch the probes to anything
The dial position has to match what you’re measuring, and it’s easy to leave it on the wrong one from the last job — trying to read voltage while still in resistance mode is a classic way to get a confusing zero. If you ever get a reading that makes no sense, checking the dial position is the first thing to rule out, not the last.
The red probe has to be in the right jack. Most meters have a VΩmA jack for voltage, resistance, and small currents, plus a separate 10A (or similar) jack purely for larger current measurements. Leave the probe in the current jack while trying to measure voltage, and you’ll get nothing — the meter’s internally wired for a completely different kind of measurement. Why a multimeter always reads 0V covers this exact mistake in more detail, since it’s the single most common reason a meter appears to be “not working.”
Three quick walkthroughs
Checking a battery. Dial to DC voltage, red probe on +, black probe on −. A “fresh” AA reads close to 1.5V; anything noticeably below 1.2V is worth replacing. A 9V battery below about 7.2V is on its way out.
Checking a wire or switch. Dial to continuity, probes on either end of the wire (or either side of the switch, closed). A beep and a near-zero reading means it’s a good connection; silence means it’s broken somewhere in between, or the switch isn’t actually closing.
Checking a resistor. Pull it (or at least one leg) out of the circuit, dial to resistance, one probe on each leg. Compare the reading against what the colour bands say it should be — a genuinely dead resistor usually reads as an open circuit (infinite resistance) rather than a slightly-off number.
Auto-ranging vs manual ranging
Auto-ranging meters pick the right range automatically and just show the answer — plug in and read. Manual-ranging meters need you to select a range (200mV, 2V, 20V, and so on) before measuring, and if the actual value is bigger than the range you picked, the display just shows an overload symbol rather than a number. If a reading looks wrong or blank on a manual meter, check you haven’t just picked too small a range before assuming something’s broken.
When a multimeter is overkill
For one specific, narrow job — checking exactly what voltage and current a USB port is actually delivering — a dedicated in-line USB power meter is genuinely more convenient than clipping multimeter probes onto a USB cable’s tiny internal pins, and reads out voltage, current, wattage, and accumulated mAh directly. It’s not a replacement for a multimeter’s general-purpose range, but it’s worth having alongside one if you’re regularly debugging USB power issues on boards like an ESP32 or a Pi.
Once the basics feel comfortable, keep this post bookmarked as a reference — the dial position and jack mistakes above account for the large majority of “my multimeter isn’t working” moments, long after you’ve otherwise got the hang of it.

