
You’ve got a battery, or a live circuit, or a power supply you’re pretty sure is switched on — and the meter just sits there showing 0.00. Not an error, not a flashing warning, just a confident, silent zero. It’s one of the most common multimeter complaints there is, and it’s almost never a dead meter or a dead battery.
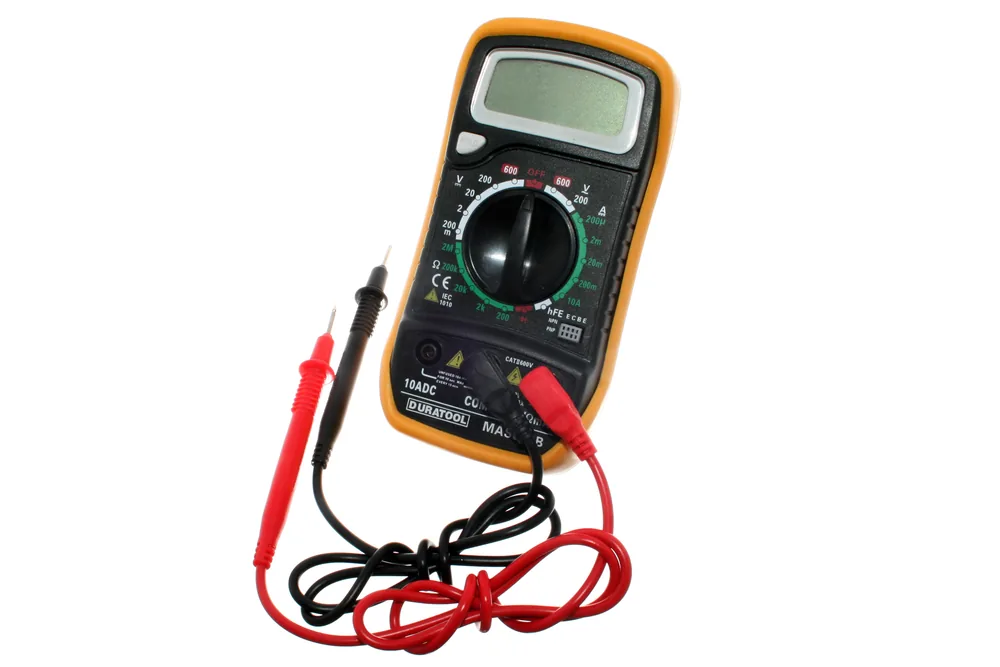
A handheld digital multimeter. Photo: oomlout, CC BY-SA 2.0 (resized)
Check these two things first
Before anything else, these account for the overwhelming majority of “always reads 0V” reports:
1. The red probe is in the wrong jack. Most multimeters have two or three input jacks: one for voltage/resistance (usually labelled VΩmA) and one or two for higher current ranges (10A or A). If the red probe is plugged into a current jack while the dial is set to measure voltage, the meter is internally wired for current mode and simply won’t register a voltage reading — it’ll sit at zero no matter what you touch it to. Move the red probe back to the VΩmA jack.
2. The dial isn’t actually on a voltage setting. It’s easy to leave the dial on resistance (Ω) or continuity mode from the last thing you tested, then touch the probes to a live circuit expecting a voltage reading. A meter in resistance mode reads a live circuit as effectively 0Ω or throws an overload symbol, not a voltage — and if you’re on the wrong voltage range (AC instead of DC, most often), a genuine DC source can also show close to zero. Double-check the dial is on DC volts (V⎓ or V-) for a battery, USB supply, or Arduino pin, and AC volts (V~) only for mains or transformer output.
If both of those check out
3. You’re only touching one point. Voltage is always a difference between two points, not a property of one wire. If one probe is dangling in the air, or both probes are touching the same net (say, both on the same ground rail), you’ll read 0V because, electrically, that’s correct — there’s no potential difference between where you’re actually measuring. Make sure the black probe is on a solid ground/negative reference and the red probe is on the specific point you want to measure against it.
4. There genuinely isn’t any voltage there. This sounds obvious, but it trips people up constantly when a circuit looks powered but isn’t. A dead battery, a blown inline fuse, a USB cable that only carries power for charging and not data (unrelated fault, same symptom of “nothing works”), a switch left open, or a connector that looks seated but isn’t — all of these produce a genuinely correct 0V reading. Work backwards from the meter towards the power source, checking voltage at each point, until you find where it actually appears. That’s your fault location.
5. Bad or corroded probe leads. Cheap probe leads fail internally from repeated flexing, usually right where the wire meets the moulded plug at either end. The break is often intermittent — wiggling the cable near the plug can bring the reading back briefly. Test by setting the dial to continuity/resistance and touching the two probe tips together; a good pair of leads reads near 0Ω and beeps instantly. If it doesn’t, the leads are the fault, not your circuit.
If it just started happening on a meter that used to work
Suspect the leads and the jack contacts before the meter’s internals — probe tips oxidise, banana-plug jacks get grit in them, and leads wear out from normal use long before the meter itself fails. A blown internal fuse is the next most likely cause, usually from measuring current with the probes still in the VΩmA jack, or from measuring resistance on a live circuit. Most multimeters use a separate fuse for the high-current ranges, and once it’s blown, current mode goes dead while voltage mode keeps working fine — so if voltage measurements are the only thing failing, a blown fuse is less likely than one of the setup issues above.
If you’ve worked through all of this and the meter still won’t read a voltage you can confirm exists another way (an LED lighting up, a motor spinning), the rotary switch’s internal contacts may have worn out — common on budget meters after a couple of years of regular use. At that point it’s cheaper to replace it than repair it; something like a basic Draper digital multimeter is a solid, inexpensive replacement that covers everything a hobbyist bench actually needs.
If you’re still getting comfortable with which dial position does what, how to use a multimeter without feeling intimidated covers the functions you’ll actually use day to day, alongside the tools list in getting started with electronics.

