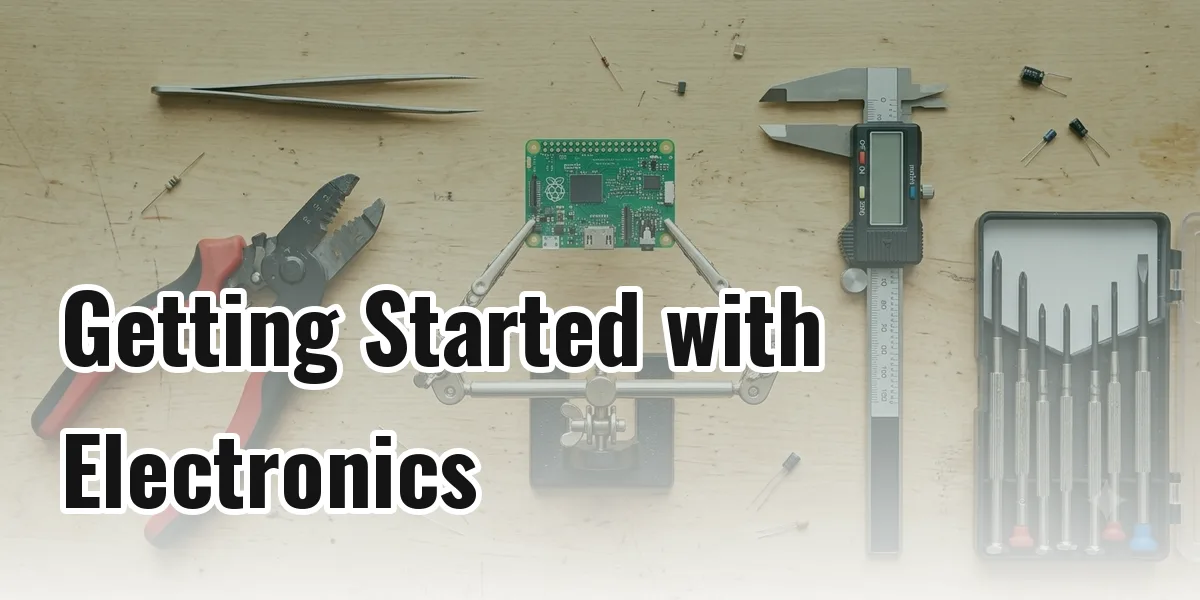
It’s easy to overspend before you’ve built anything. Here’s the short list of what actually gets you started.
The essentials
- A breadboard — for building circuits without soldering
- A multimeter — for checking voltage, continuity, and resistance
- Jumper wires — to connect components on the breadboard
- A basic component kit — resistors, LEDs, capacitors, a few transistors
- A microcontroller board — an Arduino Uno or an ESP32 board , depending on whether you want USB-only projects or built-in Wi-Fi
What you don’t need yet
- A soldering iron — useful eventually, not for your first breadboard circuits
- An oscilloscope — great for debugging signals, overkill for blinking an LED
- A big component drawer set — buy components as projects need them at first
Next steps
Once you’ve got the essentials, the next post in this series covers how to actually use a breadboard, followed by your first project: blinking an LED. If your multimeter is giving you a stubborn 0V reading while you’re getting set up, here’s why.
