It’s the first thing almost everyone builds, and it’s also the first thing that quietly refuses to work for no obvious reason. The wiring looks right, the power’s on, and the LED just sits there dark. Nearly every case traces back to one of a small handful of causes — work through them in order and you’ll almost always find it.
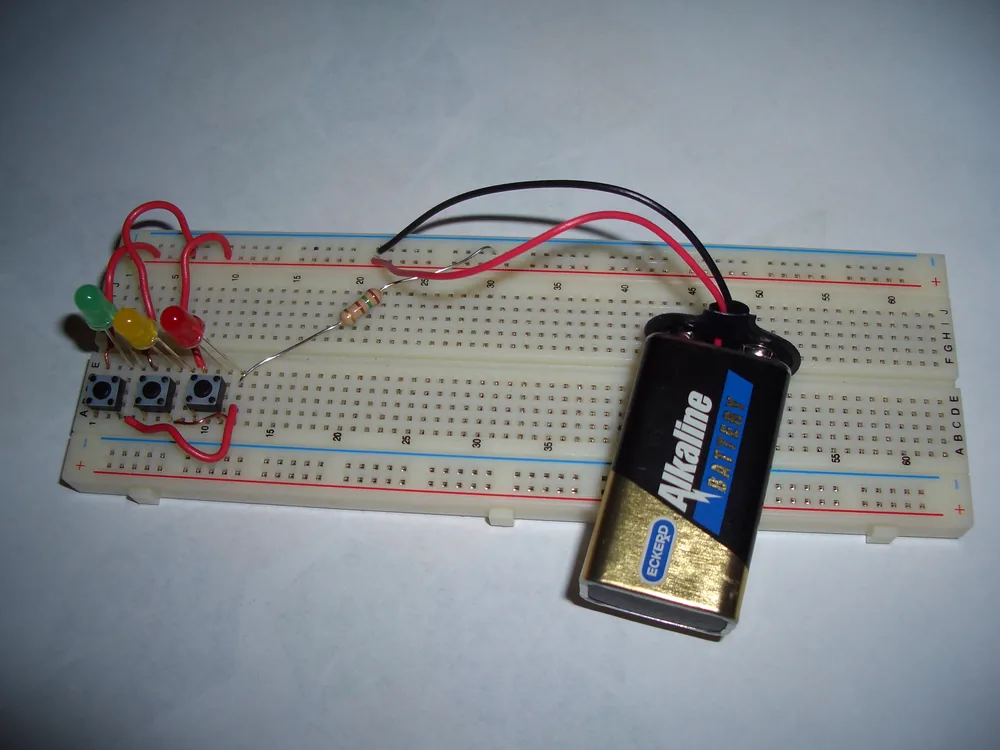
LEDs wired up on a solderless breadboard. Photo: Ilikefood, free use (resized)
Check polarity first
An LED is a diode — it only conducts, and only lights, with current flowing one specific direction. Get it backwards and it doesn’t glow dimly or work partially, it just does nothing at all, which is exactly what makes this the most common cause of “my LED won’t light.”
Two ways to tell which leg is which:
- Leg length. On a new, unbent LED, the longer leg is the anode (+), the shorter leg is the cathode (−).
- The flat edge. Look at the rim around the base of the LED — there’s a flat spot on one side. That side is the cathode (−). This is the more reliable check once legs have been trimmed or bent.
If you’ve already trimmed the legs and can’t tell the flat edge apart either, a multimeter’s diode-test mode (usually the same dial position as continuity, marked with a diode symbol) will light the LED faintly and tell you which probe is on the anode.
If the polarity is right and it’s still dark
Check for a missing or dead-wrong resistor. LEDs have almost no internal resistance of their own — connect one directly across a supply with nothing else in the circuit, and it draws far more current than it’s rated for. Sometimes that just kills it instantly (look for a tiny black scorch mark inside the dome, or a leg that’s visibly discoloured), and a dead LED, correctly wired, also does nothing. If you’re not sure whether it survived, swap in a spare LED you know is good, keeping everything else the same — if the spare lights, the original one is the fault, not the circuit.
Check you’re actually on the row you think you are. This is the single most common “invisible” cause, and it’s a breadboard problem, not an LED problem. If the LED’s row on the breadboard isn’t connected where you think it is — especially across the centre gap, or past a physical break in a power rail — current never reaches it despite every wire looking correctly placed. How a breadboard is wired underneath covers exactly this, and it’s worth ten minutes if you haven’t read it yet.
If it’s driven from code, confirm the pin is actually doing what you think. A pin left as INPUT instead of OUTPUT, a typo’d pin number, or a digitalWrite(pin, LOW) left over from earlier in the sketch will all produce a perfectly wired LED that never receives a signal. Test the same physical wiring with the LED tied straight to 5V/3.3V through its resistor, bypassing code entirely — if it lights that way, the fault is in the sketch, not the hardware.
Check the supply voltage is actually enough for that LED’s colour. Different LED colours have different forward voltage requirements — red and yellow LEDs typically need around 1.8–2.2V, while blue, white, and UV LEDs need closer to 3–3.4V. Driving a blue or white LED from a 3.3V logic pin, especially through a resistor sized for a red LED, can leave too little headroom to light it visibly, even though nothing is technically miswired.
If it’s dim rather than fully dark
That points away from most of the causes above and towards a resistor value that’s simply too high, choking the current down to barely-visible levels. How to choose the right resistor value for an LED walks through the calculation properly — as a quick check, (supply voltage − LED forward voltage) ÷ resistor value should land somewhere around 15–20mA for a standard 5mm LED. If that works out well under 10mA, try roughly halving the resistor value and see if it brings the brightness back to normal.
If it worked before and stopped
Suspect the LED itself before the rest of the circuit — a leg fatigued from being bent back and forth while prototyping, or a unit that was run without a resistor at some point in the past and is now degraded rather than fully dead, are both common. Swap in a known-good spare first; it’s the fastest way to rule the LED in or out before you start re-checking wiring you’ve already checked once.

